Category: RV Remodel

  • OUTSIDE IN

    OUTSIDE IN

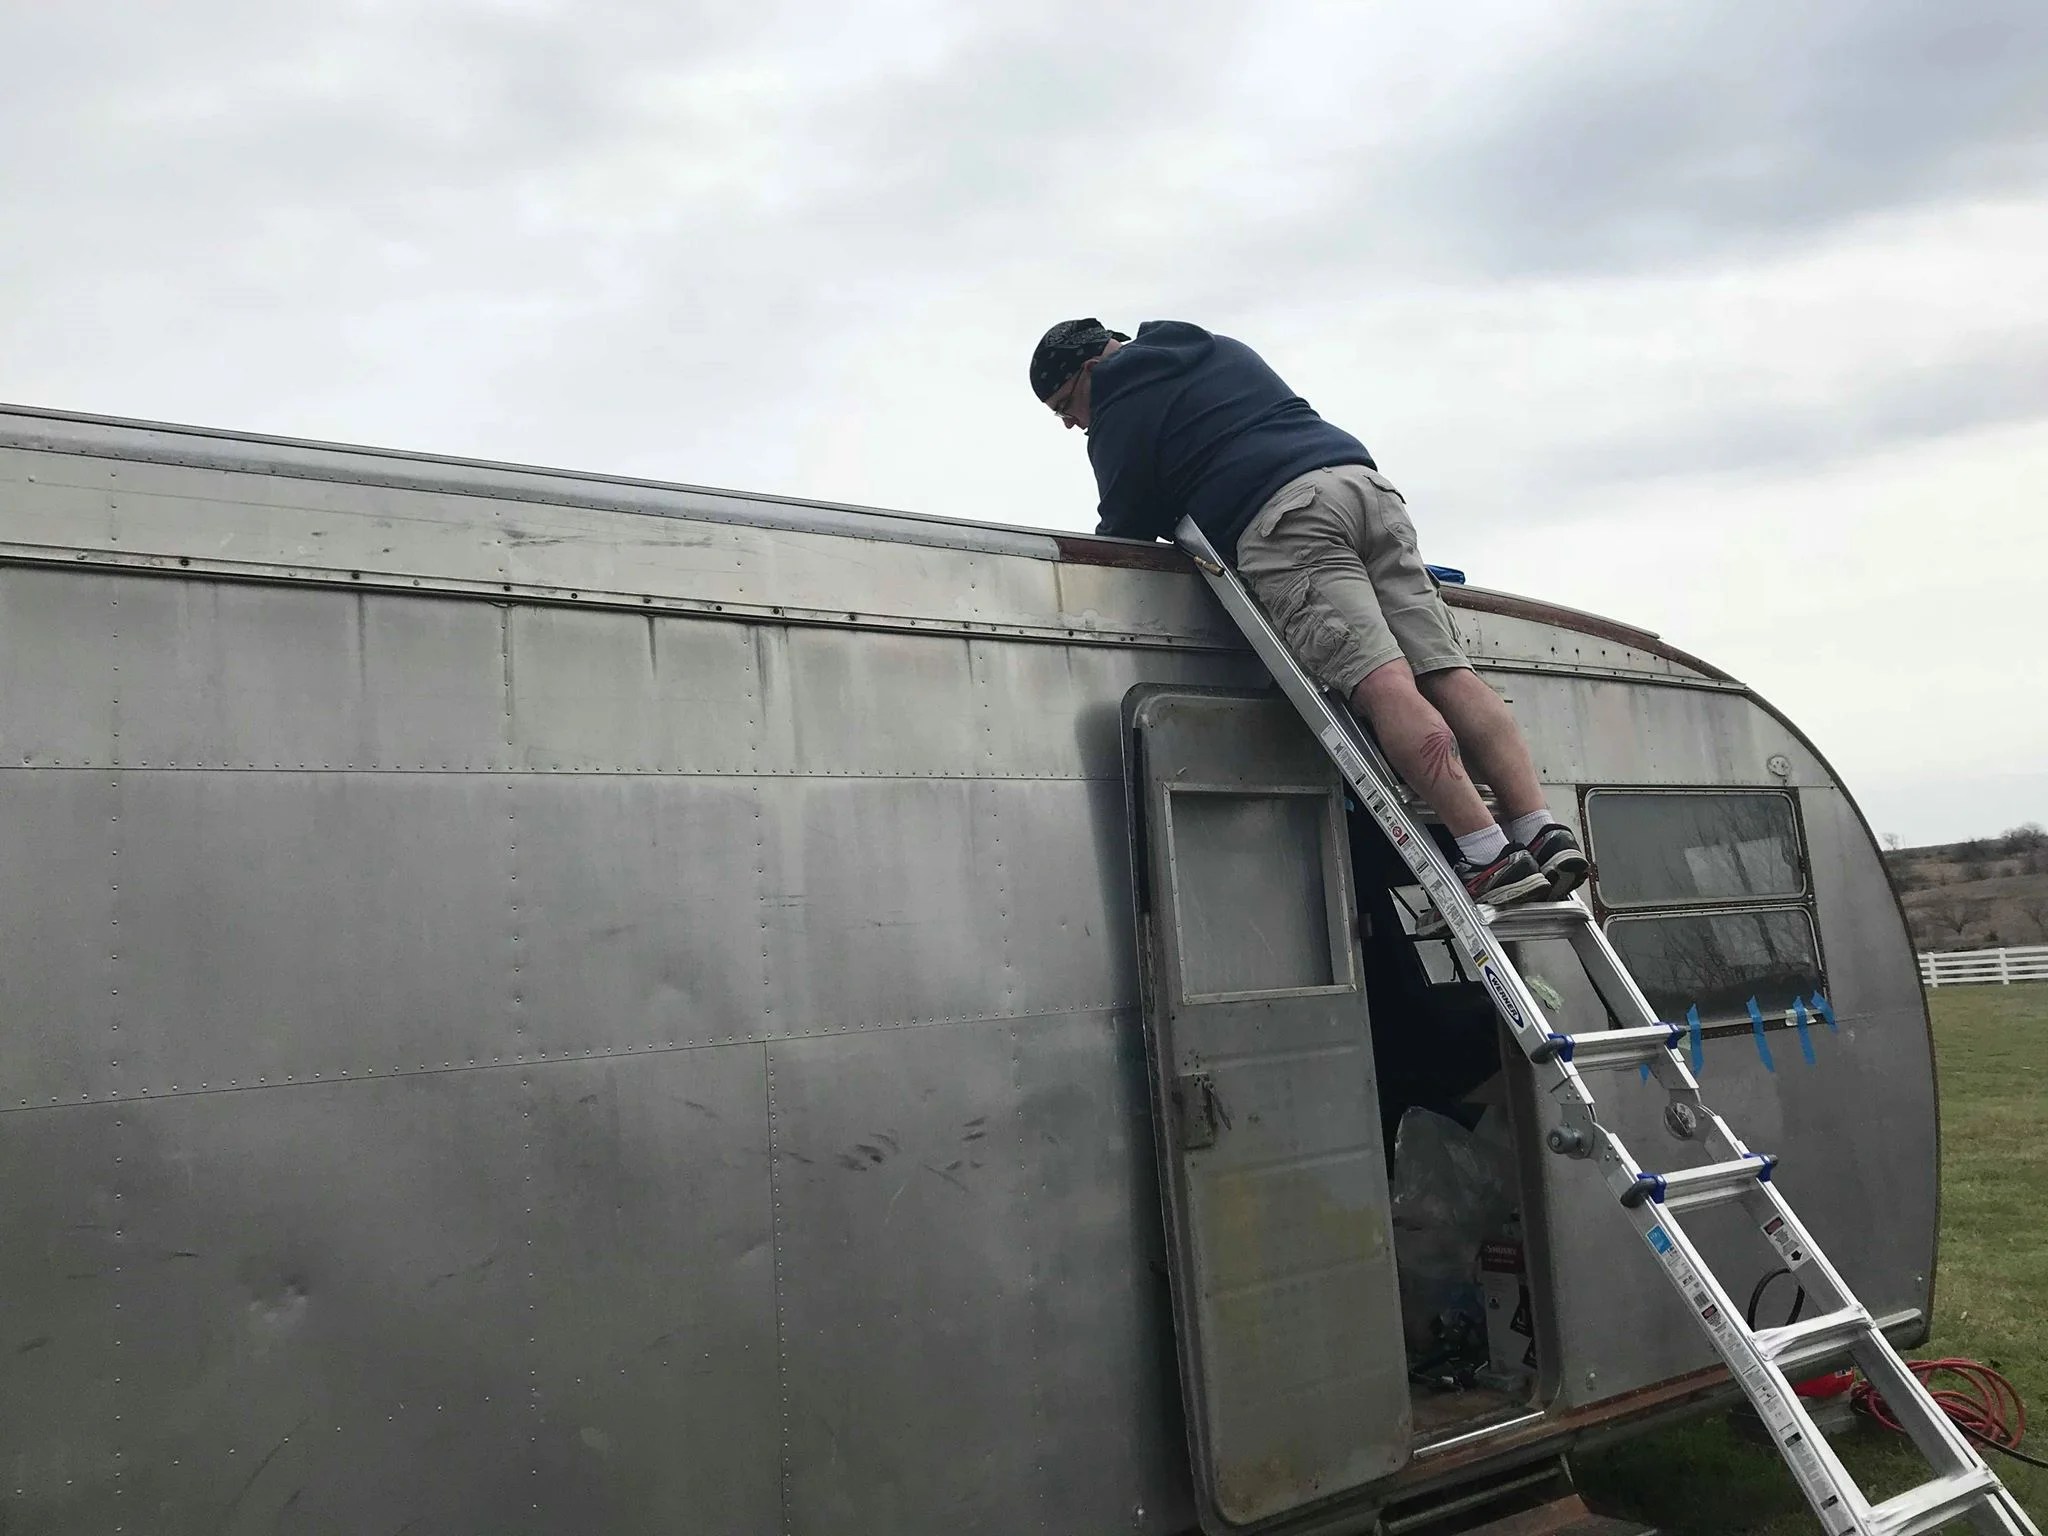
    If only the weather was like this when I installed the fans...

    If only the weather was like this when I installed the fans…

    I sought advice from others doing similar vintage trailer renovations and the consensus is that I should focus on outside to inside in my repair and renovation efforts. Get it dry, get it sealed, and then make it pretty.
    fan and patch.jpg

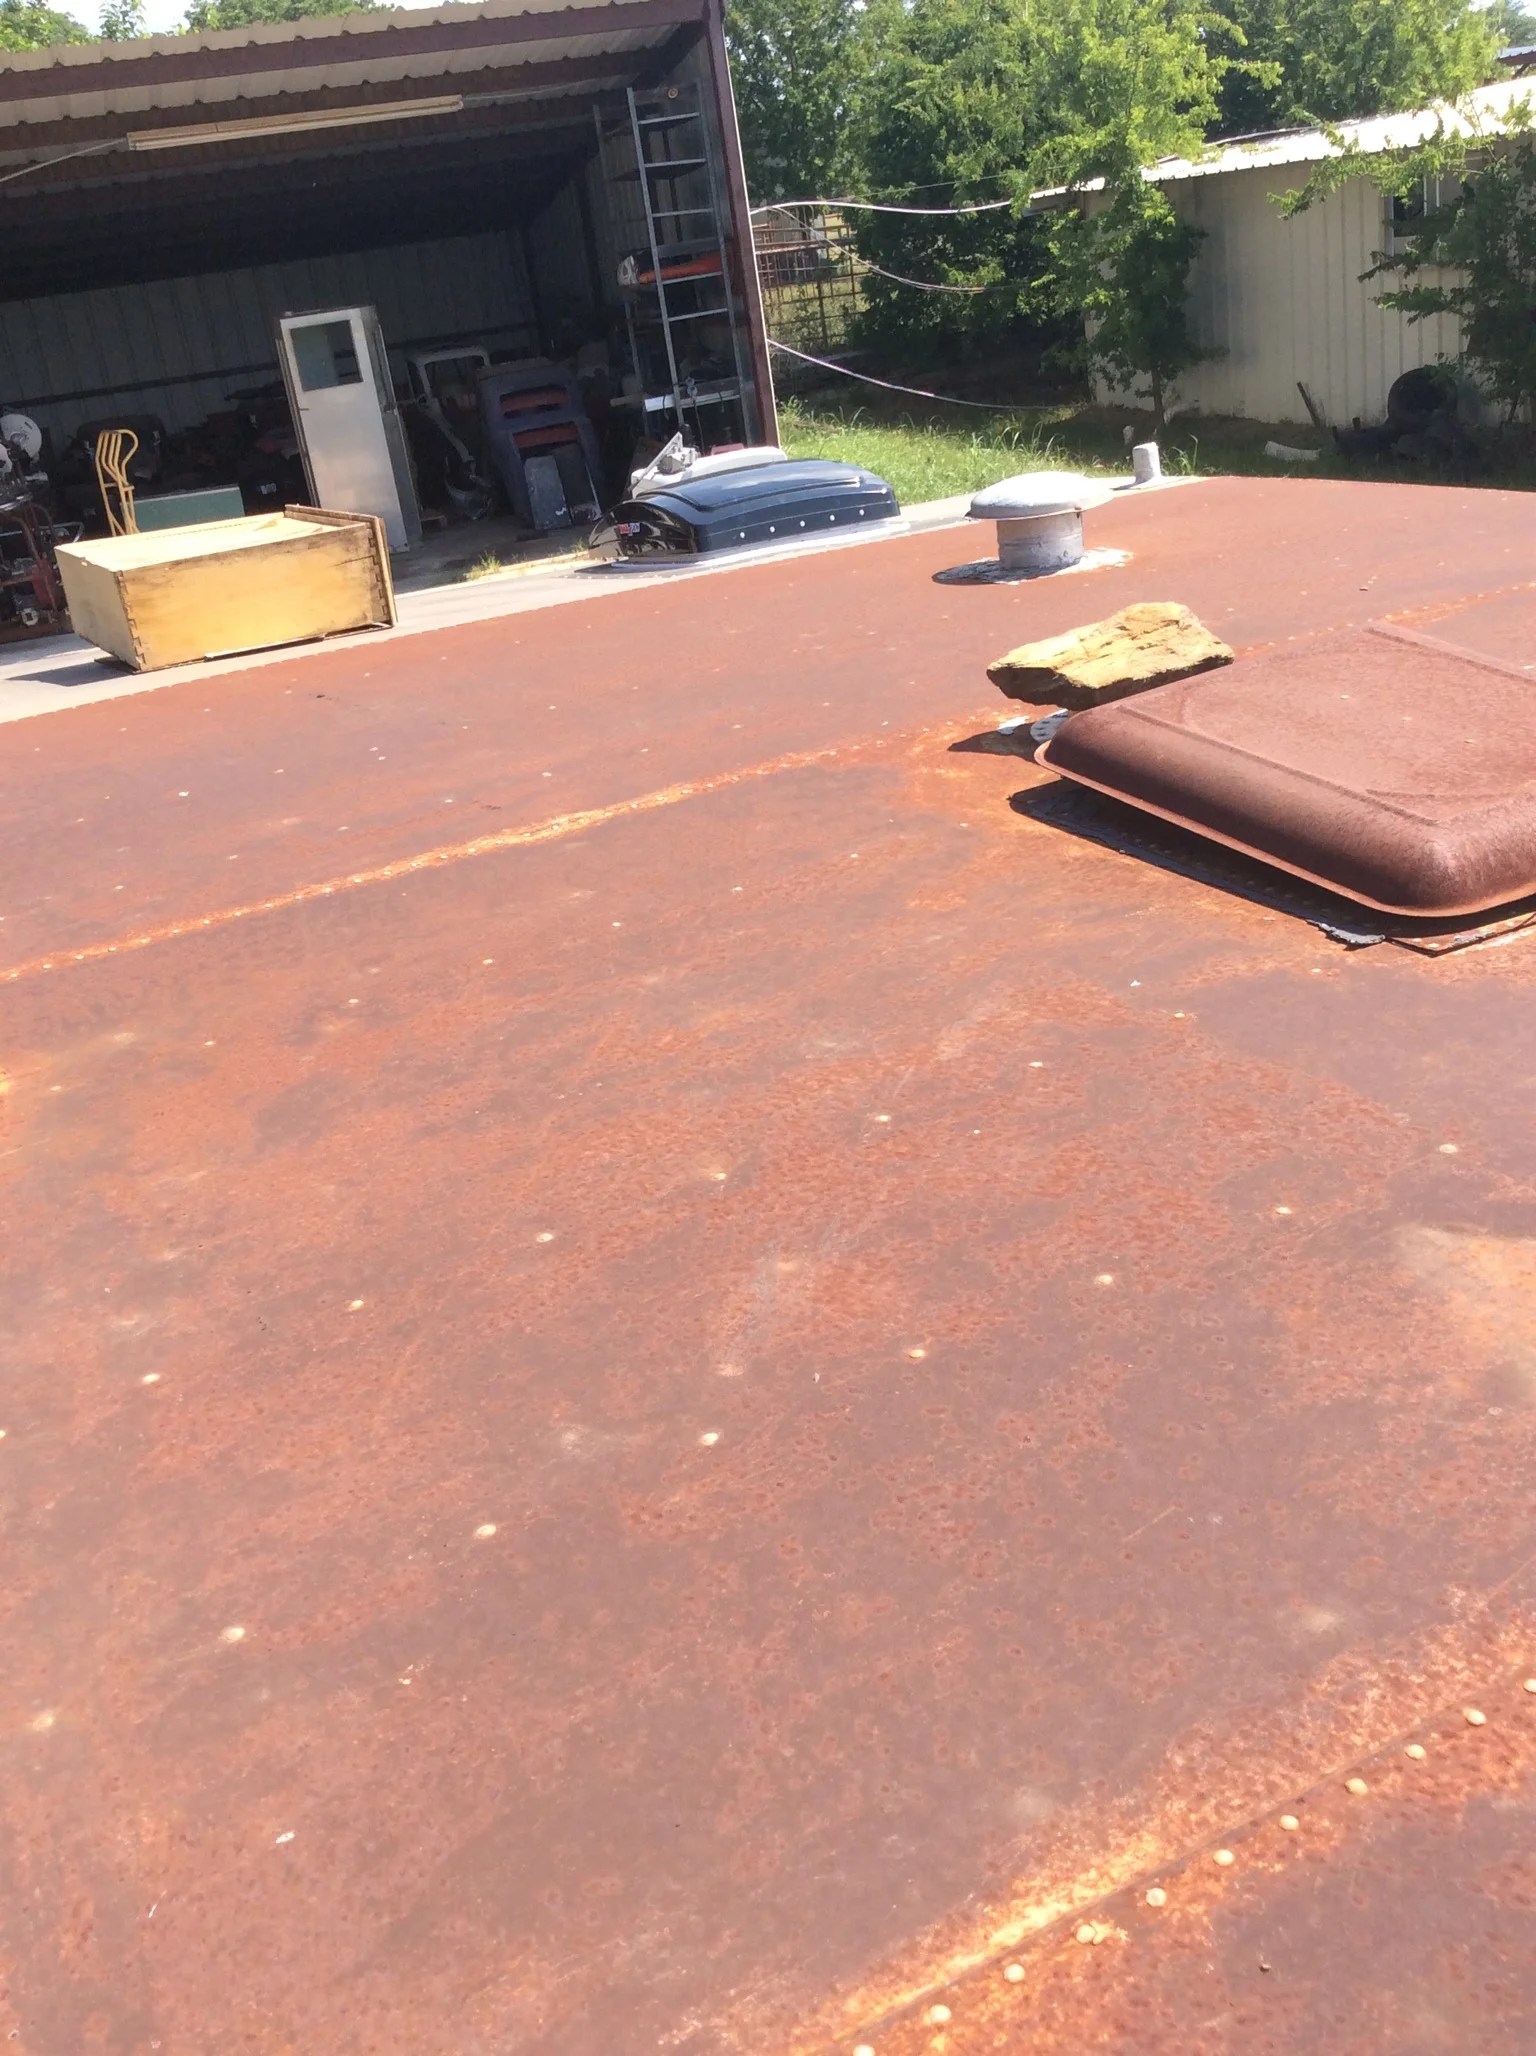
    To begin this, I am focusing on the roof first. I purchased aluminum sheet, 48”x48”, for the initial patches (and some practice). For the preparation, you will need a rivet removal tool. Although rivets can be drilled-out with a standard drill bit, it has proven true for me that it is easier with a properly designed tool. I bought mine from Vintage Trailer Supply. I spent about 15 minutes understanding the tool and the parts provided (for different sizes of rivet), and then moved to the trailer to begin the drilling fun. DO NOT BE IN A HURRY. Drilling out rivets takes time and patience. The tool occasionally gets gunked up with the shavings from the rivets and has to be cleaned out. Slow and steady is the best recommendation. For me, the starting point for testing the rivet removal tool was the street-side wall space under the kitchen window, where I have some corrosion holes to fix. This gave me an easily accessible point to work with the tool and see what I need to do before I climb on the roof. Having done this and successfully removing a series of rivets, I am ready to climb up top. I will be returning to the wall for continued repair later. 

    Additional Tools for aluminum patching: 

    • Cut-off tool or aluminum snips 
    • Rivet gun (buck rivet w/ bucking bar or universal rivet depending on your desire for originality or ‘get it done’) 
    • Cleco fasteners (used to hold your metal pieces in place as you prep the installation) 
    • Rivets (solid or universal) 
    • Sealant (Sika Self-leveling Sealant is what I used) 
    first fan

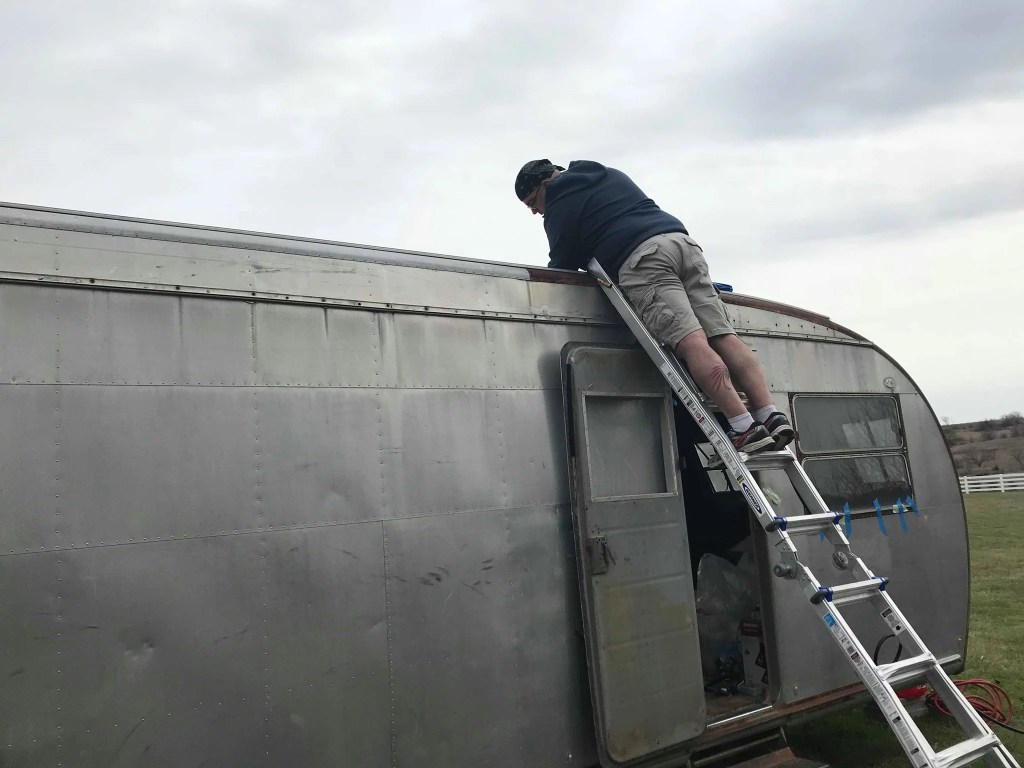
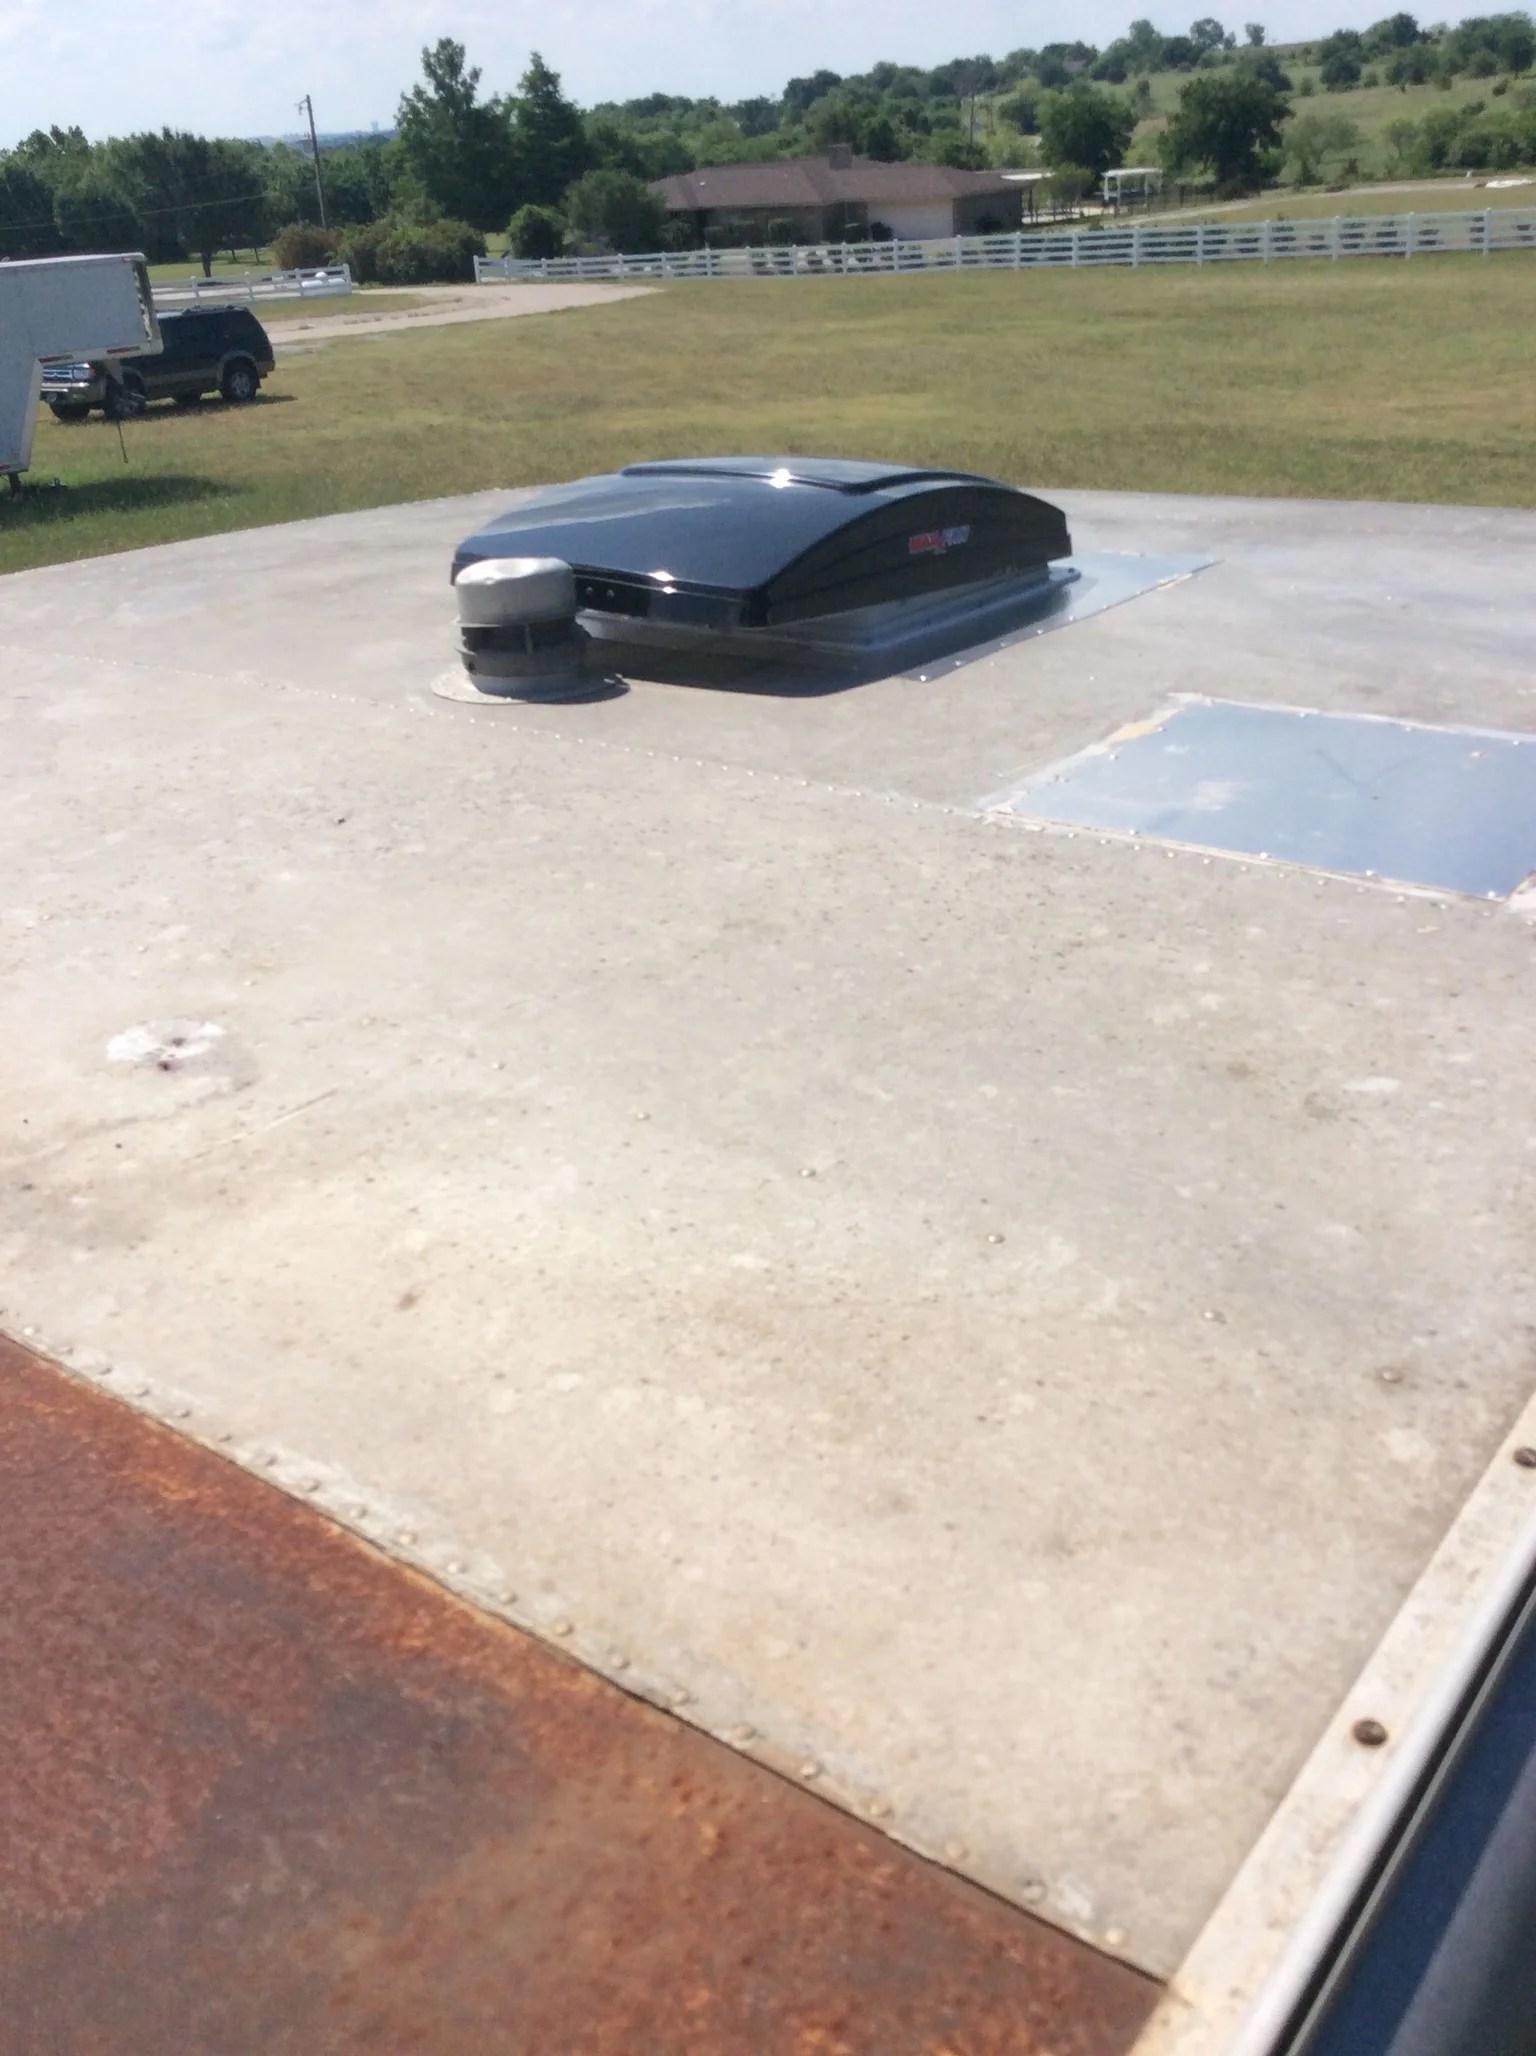
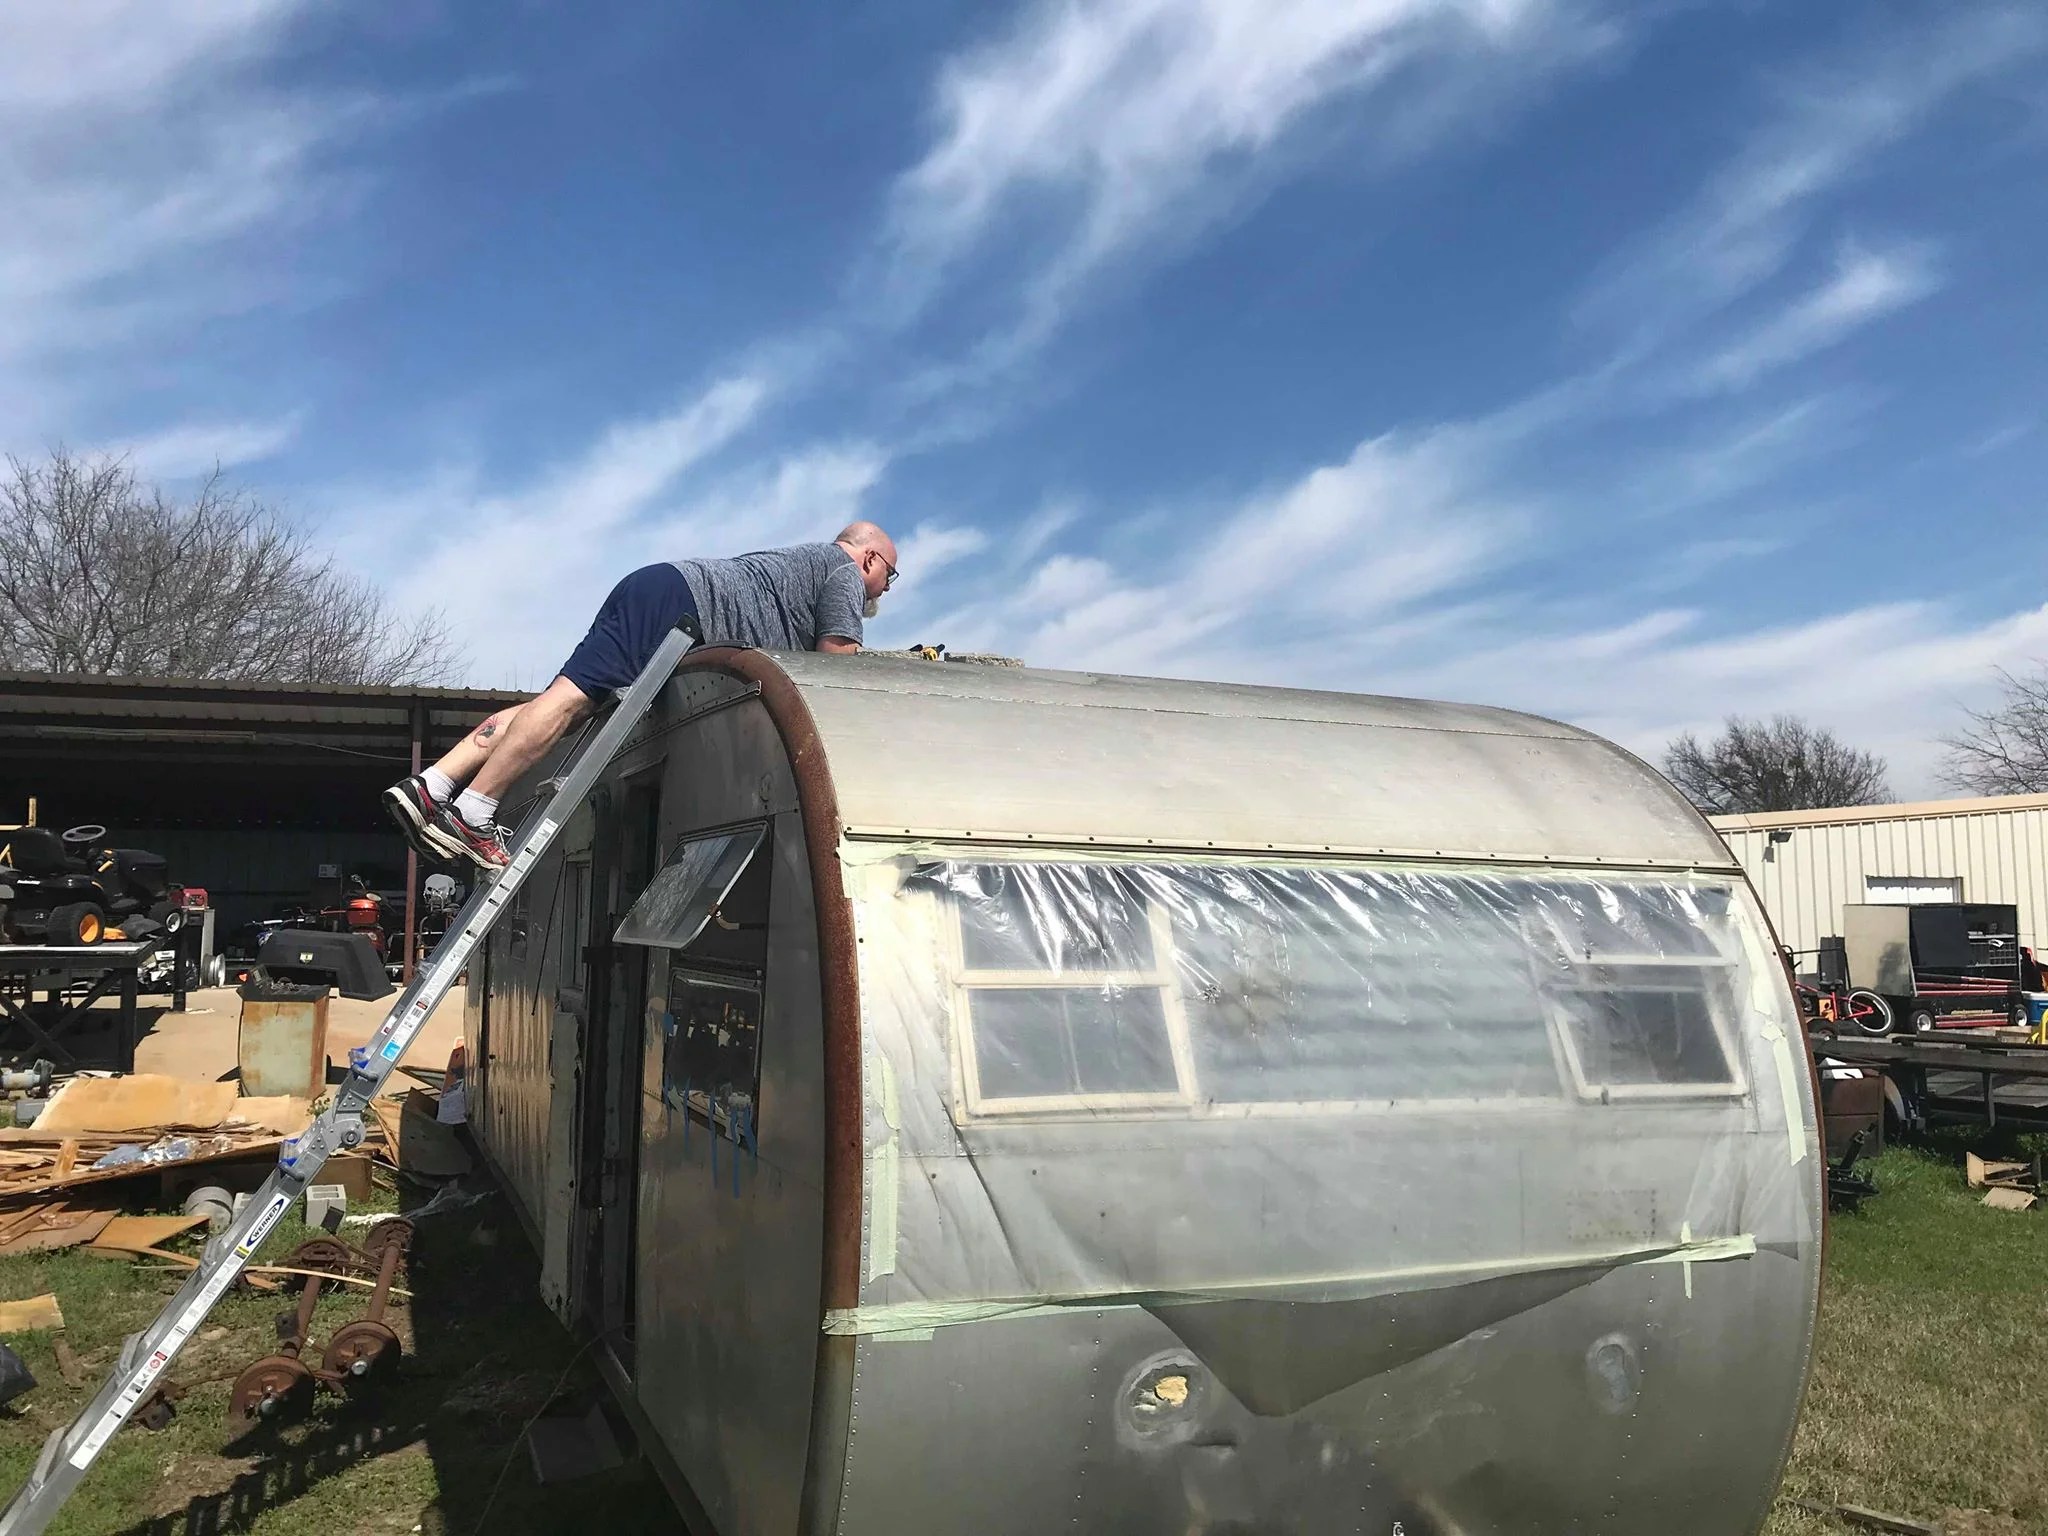
    Roof day proved to be a Texas classic… weather has been cold and overcast for weeks, but on roof day out pops the sun at a toasty 85 with not a cloud in sight.  Needless to say, I cooked while I lay on the aluminum roof drilling out rivets for the vent pipe that used to service the heater assembly (missing) and the 12-inch x 16-inch manual roof vent that I will be replacing with a 14-inch x 14-inch MaxxFan Deluxe roof vent. I am hesitant to admit that I was terrified of cutting the aluminum sheet and patching the ceiling. I used a cordless cut-off wheel to trim out the roof opening from 12 inches to 14 inches wide, then cutting a 14-inch x 14-inch hole in the new aluminum sheet I purchased to patch over the extra length of the old vent and provide the precise opening for the new vent. I used the cutout piece to patch the heater vent opening and then placed the remaining piece over the opening for the vent. I then commenced to pre-drill the holes (starting with the corners) and placing cleco fasteners to hold the patch in place. Once I had the holes drilled, I removed the patch, applied Sika sealant around the perimeter and then replaced the patch with cleco fasteners in the corners. I then proceeded to rivet the patch in place and clean up the sealant that squirted out the sides. Next I moved on to the main vent patch, repeating the steps used for the heater vent but first dry fitting the vent insert in the hole to make sure position was good and that all of the previous vent spaces were completely covered. Then I proceeded as before with clecos, pre-drilling the holes, applying sealant, and riveting everything down. Finally I placed the vent collar into the opening (sealant once again around the fringe) and screwed the collar down. At the last, I placed the vent fan assembly on the collar and dropped it in place. 
    019bf022d3d71c33564f25cc0a2ca2a492623f489b.jpg

    I probably should have paid closer attention to the fact that I had a secondary vent relatively close to the location of my powered vent. As it turns out, I needed another ¼ inch of clearance for the vent hood. Next week I will have to correct this too. Fortunately, the interfering vent is not used either and I will remove this and flat patch the hole as I did with the heater vent. Hindsight is sometimes a real bugger. Fortunately, I also utilized this opportunity to pre-cut the second vent patch piece I will need for the rear powered vent installation also to come next week. 

  • RV INTERLUDE

    RV INTERLUDE

    The Bachelor RV - Dallas RV Show 2018

    The Bachelor RV – Dallas RV Show 2018

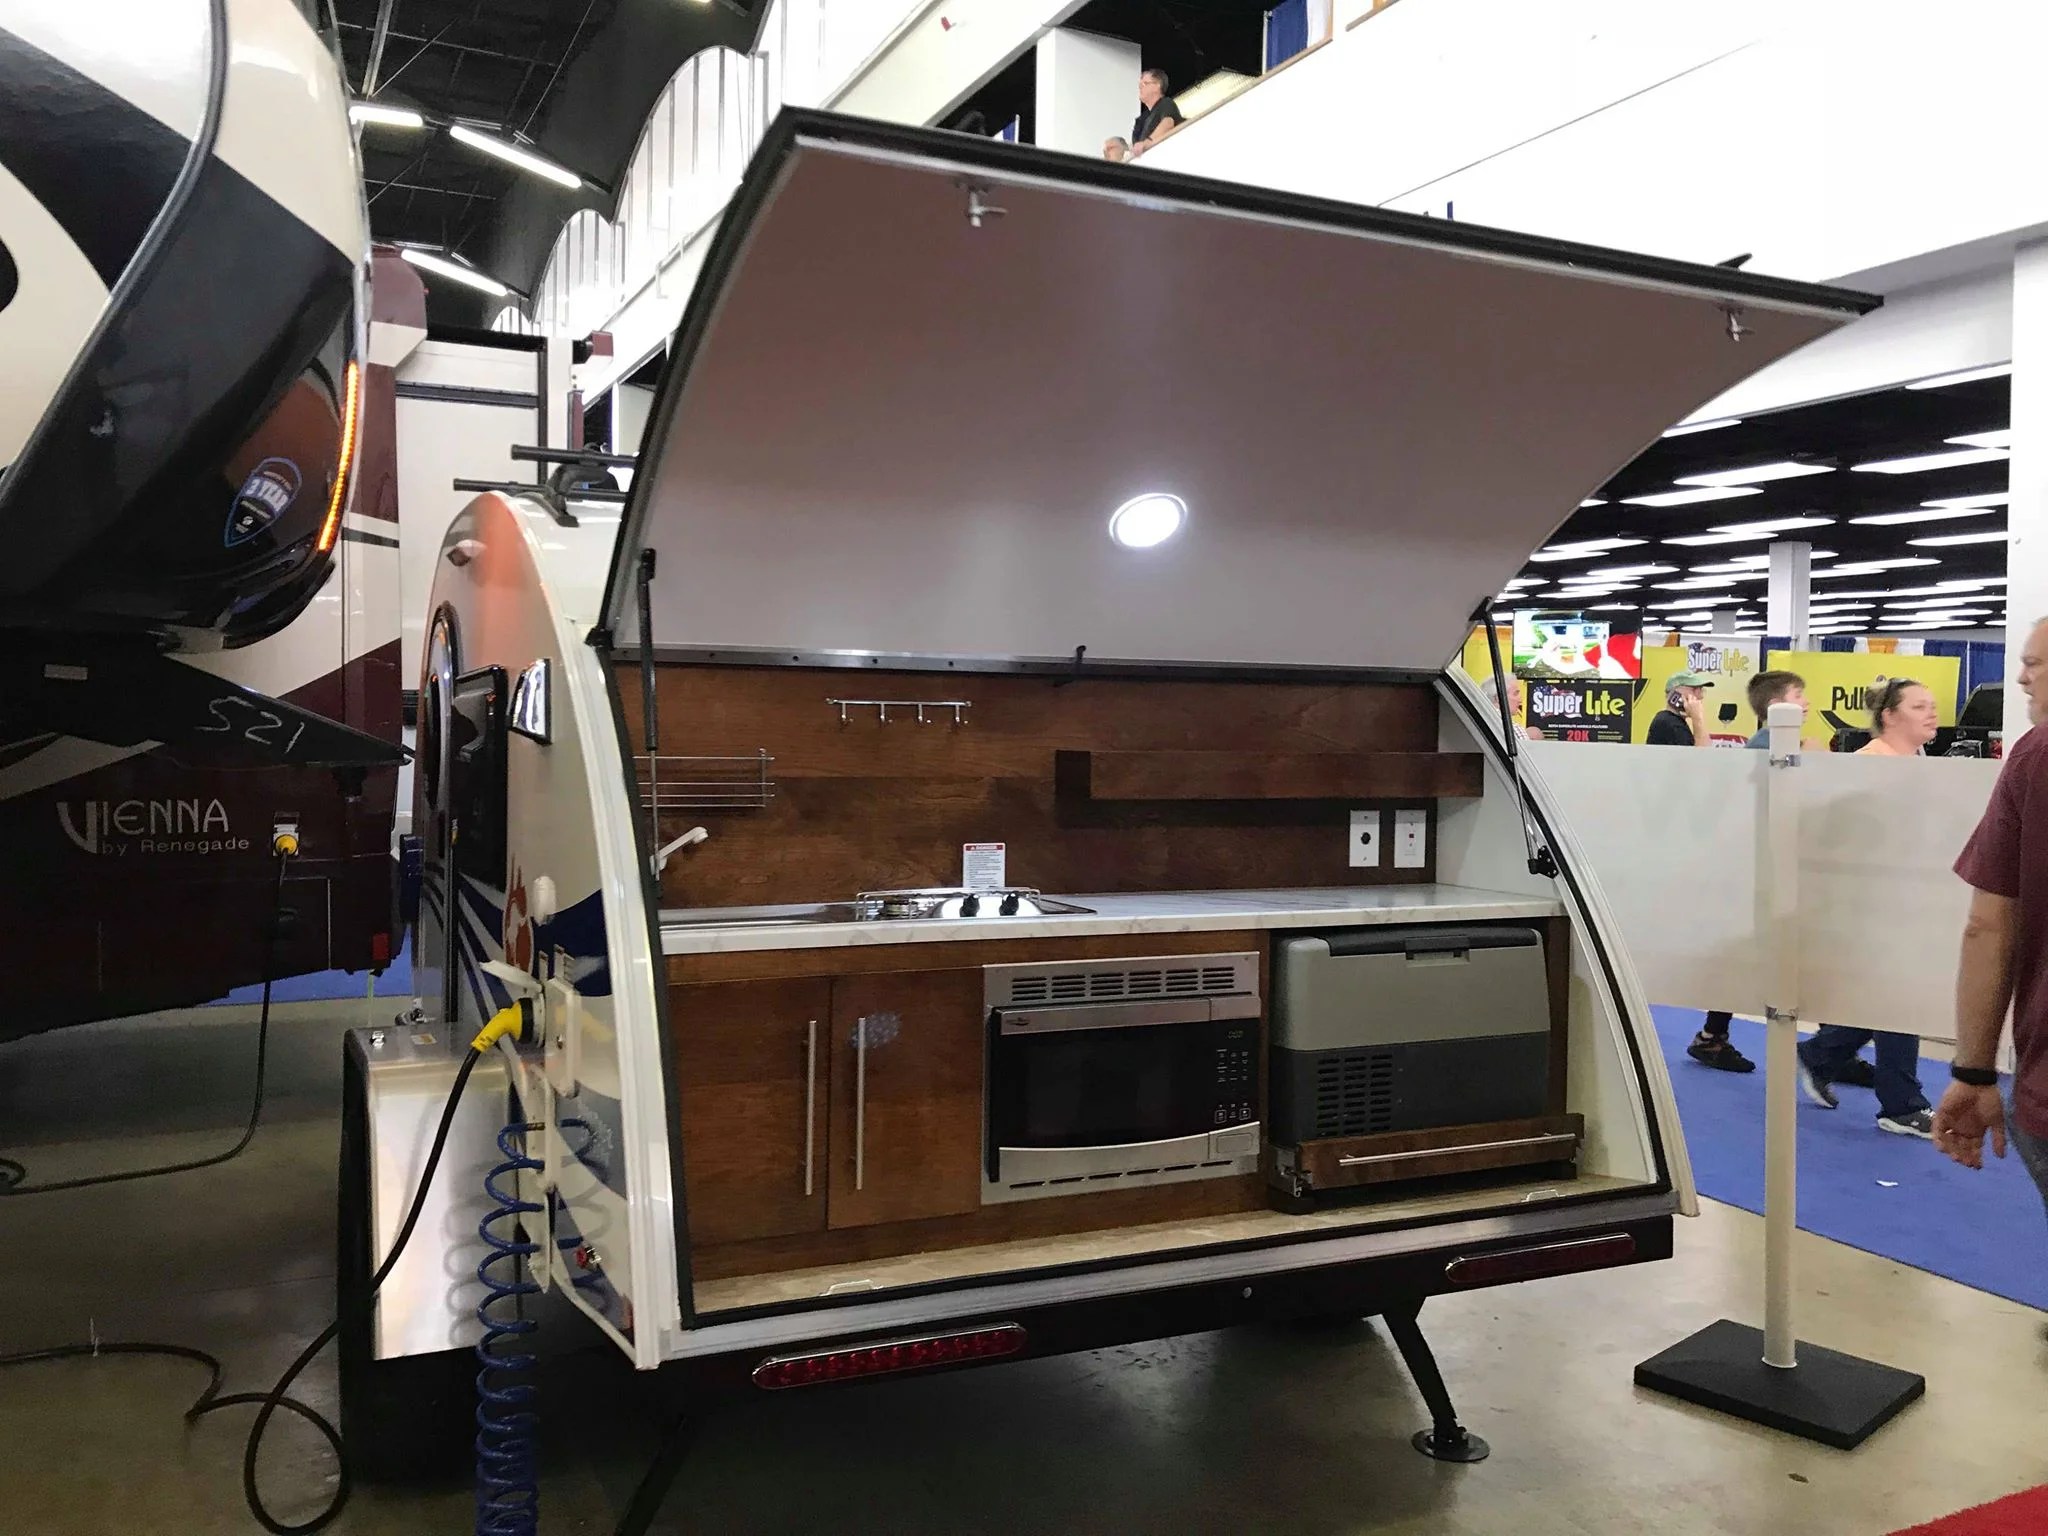
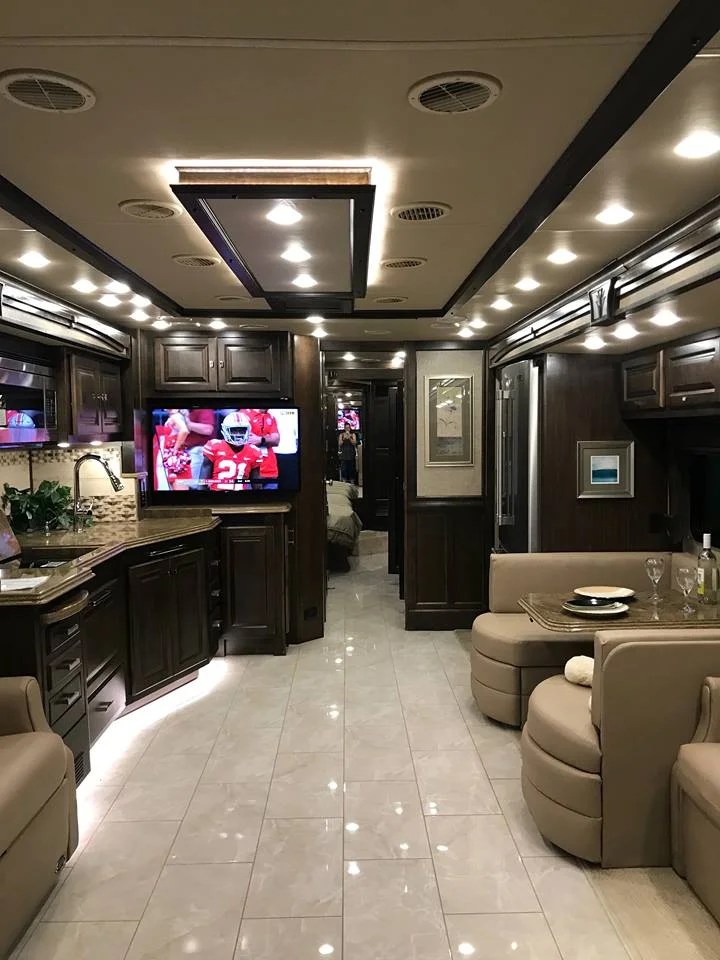
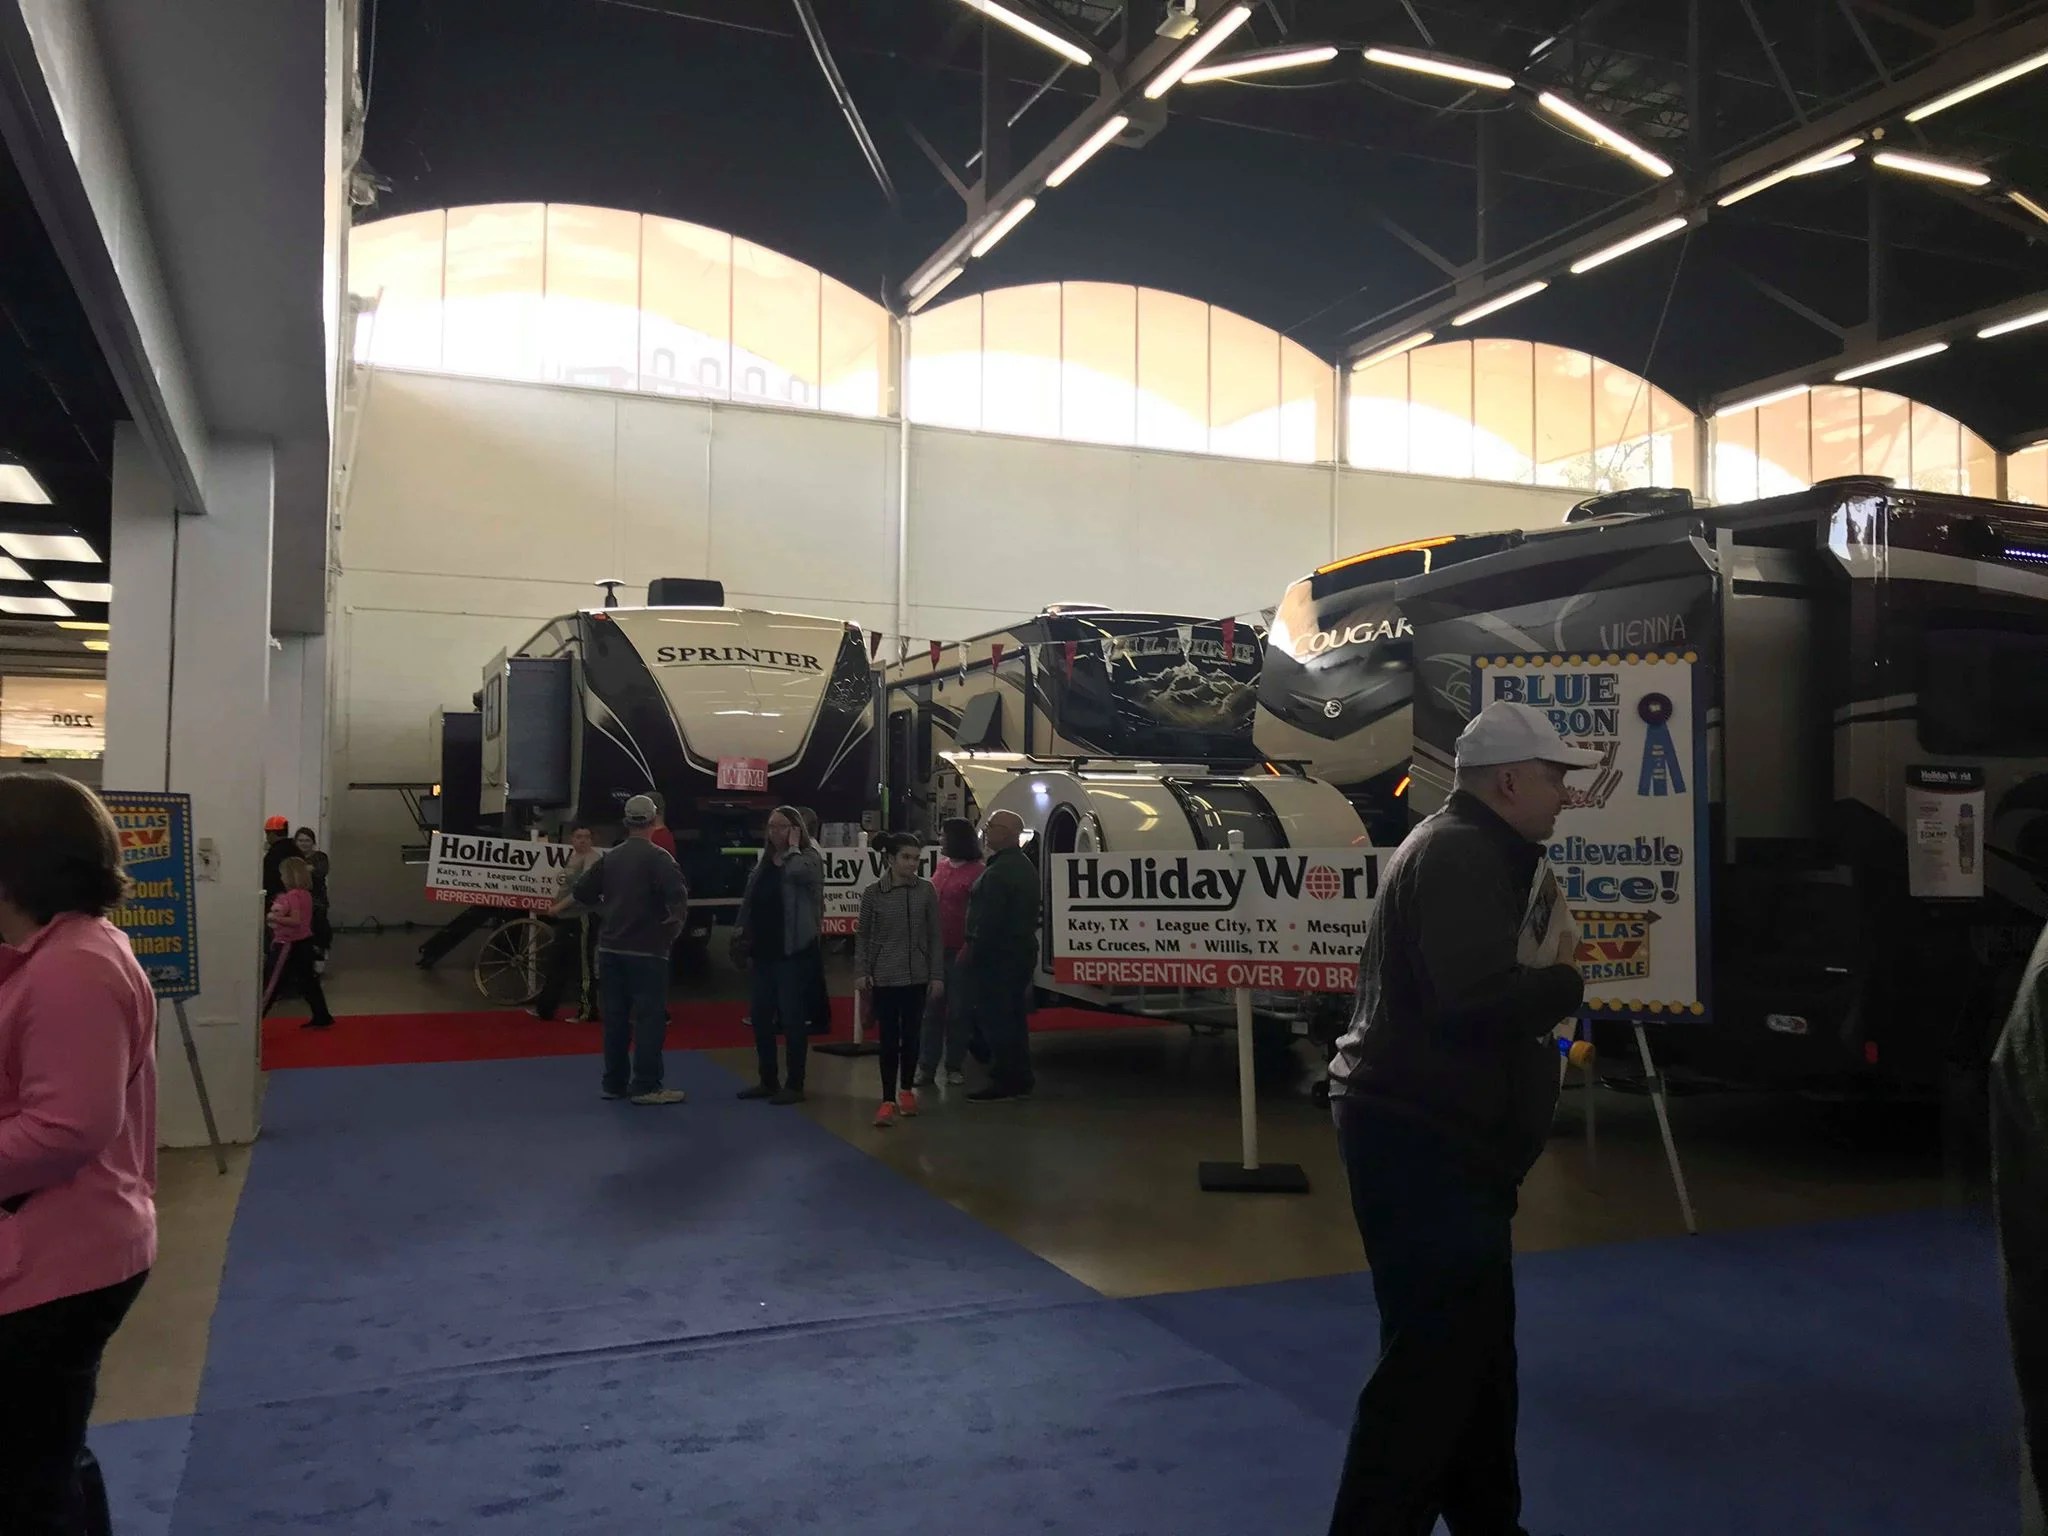
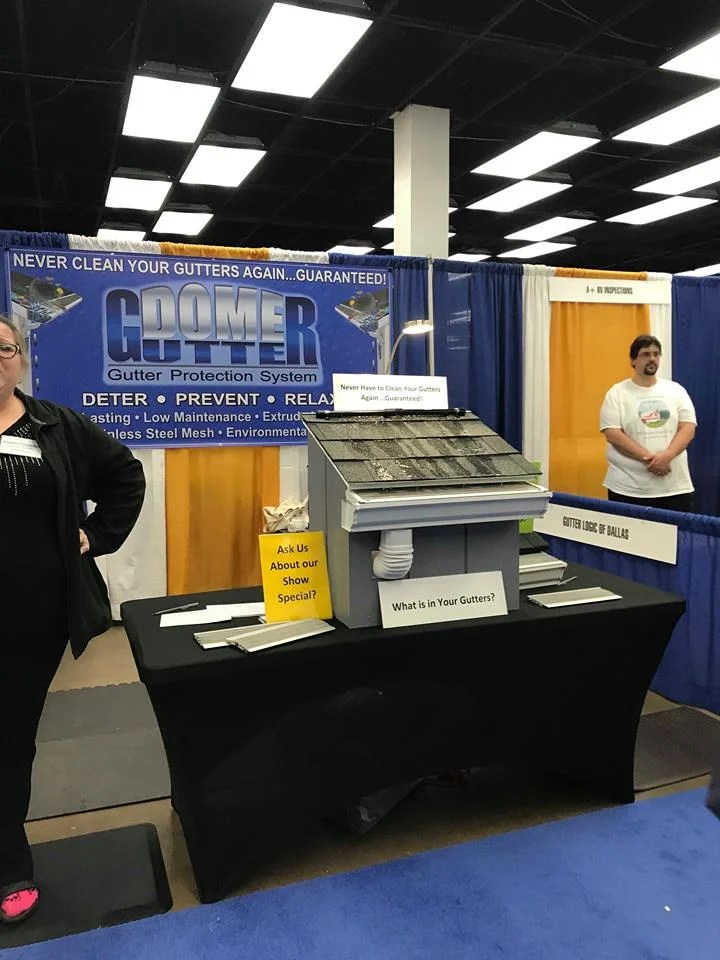
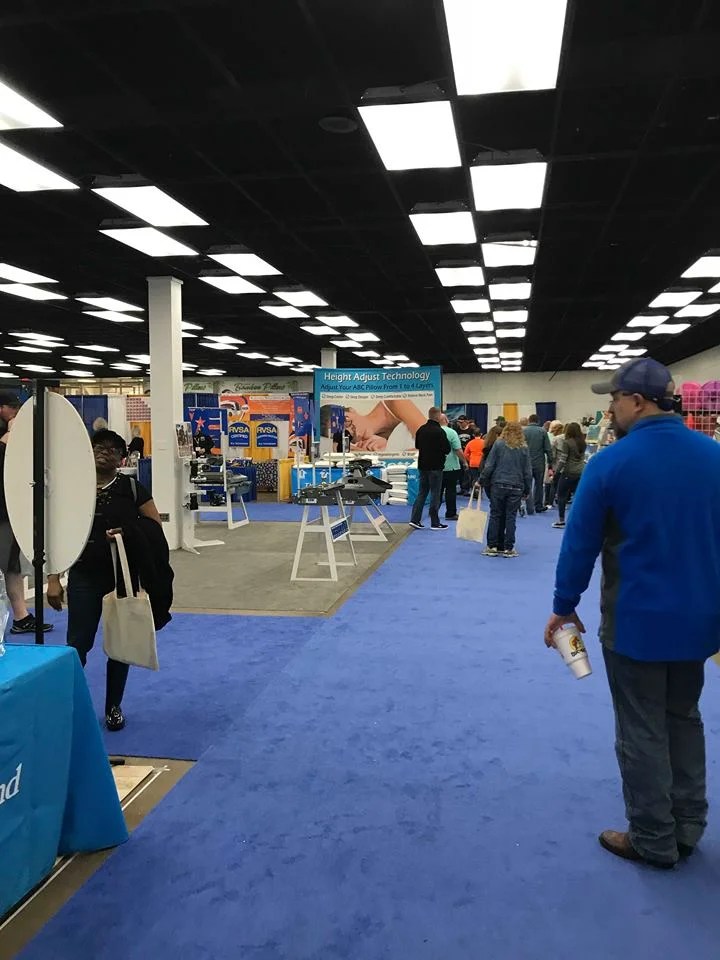
    We decided to take a weekend off for a couple of reasons. First, it was Deandra’s first full weekend off in a year.  Second, it was the date of the Dallas RV Show. We would never have imagined a year ago, when we attended the Dallas RV show for the first time, that we would be attending the show to look for remodeling ideas and ‘hopefully’ to score some vendor resources for things we are having trouble finding. In fact, we had fully expected to be coming into this RV show with a handful of cash and eager to make a deal on a shiny new trailer. Oh how life has its funny way of playing tricks on us. 

    The truth is we really did not gain any value from attending this year’s RV show. The seminars offered primarily focus on new RV buyers, providing tips for how to use the systems that come in most new fifth wheels or travel trailers. Cooking tips, how to flush your tanks, what is the best fifth-wheel hitch, etc. Worse still is the sad fact that the majority of vendors renting booths at the show are selling stuff that has nothing to do with RVs (gutter systems for your house, bathroom remodeling, windows for your house, etc) or trying to sell gadgets (TENs machines, and the vendor was a jerk to boot). We concluded after a mere 45 minutes of walking through the show that there was nothing here for us. We did collect some info on RV parks, RV traveling groups, and a couple of other vendors that might come in useful once we complete our project. 

    A future consideration will be to take the accumulated knowledge we are gaining from our renovation project and possibly go back as a vendor to future RV shows and present options for vintage trailer restoration as a business venture. This will include all of our ongoing research on RV Solar (including all system components and sourcing), electrical system integration (12vDC, 110vAC, Solar), aluminum sourcing and rework ideas, and so on. It may also include custom cabinetry, trailer component repair and replacement, WINDOWS!!! Sorry… I got a little overzealous there… Windows are my current source of heartburn. Still to be resolved. 

    This all will depend on the success or failure of our current project and all that we learn in the process. Believe me when I say there is a ton to learn and we are only scratching the surface at present. 

    With the abbreviated visit to the Dallas RV show, my lovely bride decided it would be a great opportunity to visit IKEA… “since we are already on this side of town and it is just up the road…” I think I was suckered, but I am not entirely sure. While I contemplated a dental visit to pull perfectly good teeth, or maybe a colonoscopy, in the end (pun intended) we went to IKEA and it proved to be relatively productive as we found the couch set up that we like with storage (a necessity) and it was actually comfortable. No pain meds required…

    IKEA

    We will be back in the trenches next week and moving forward as quickly as we can. 


  • Seeking Salvageable Something

    Seeking Salvageable Something

    panels.jpg

    Seeking Salvageable Something

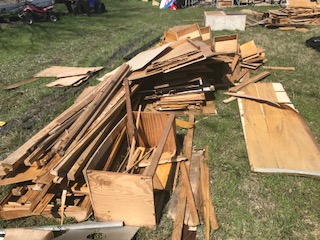
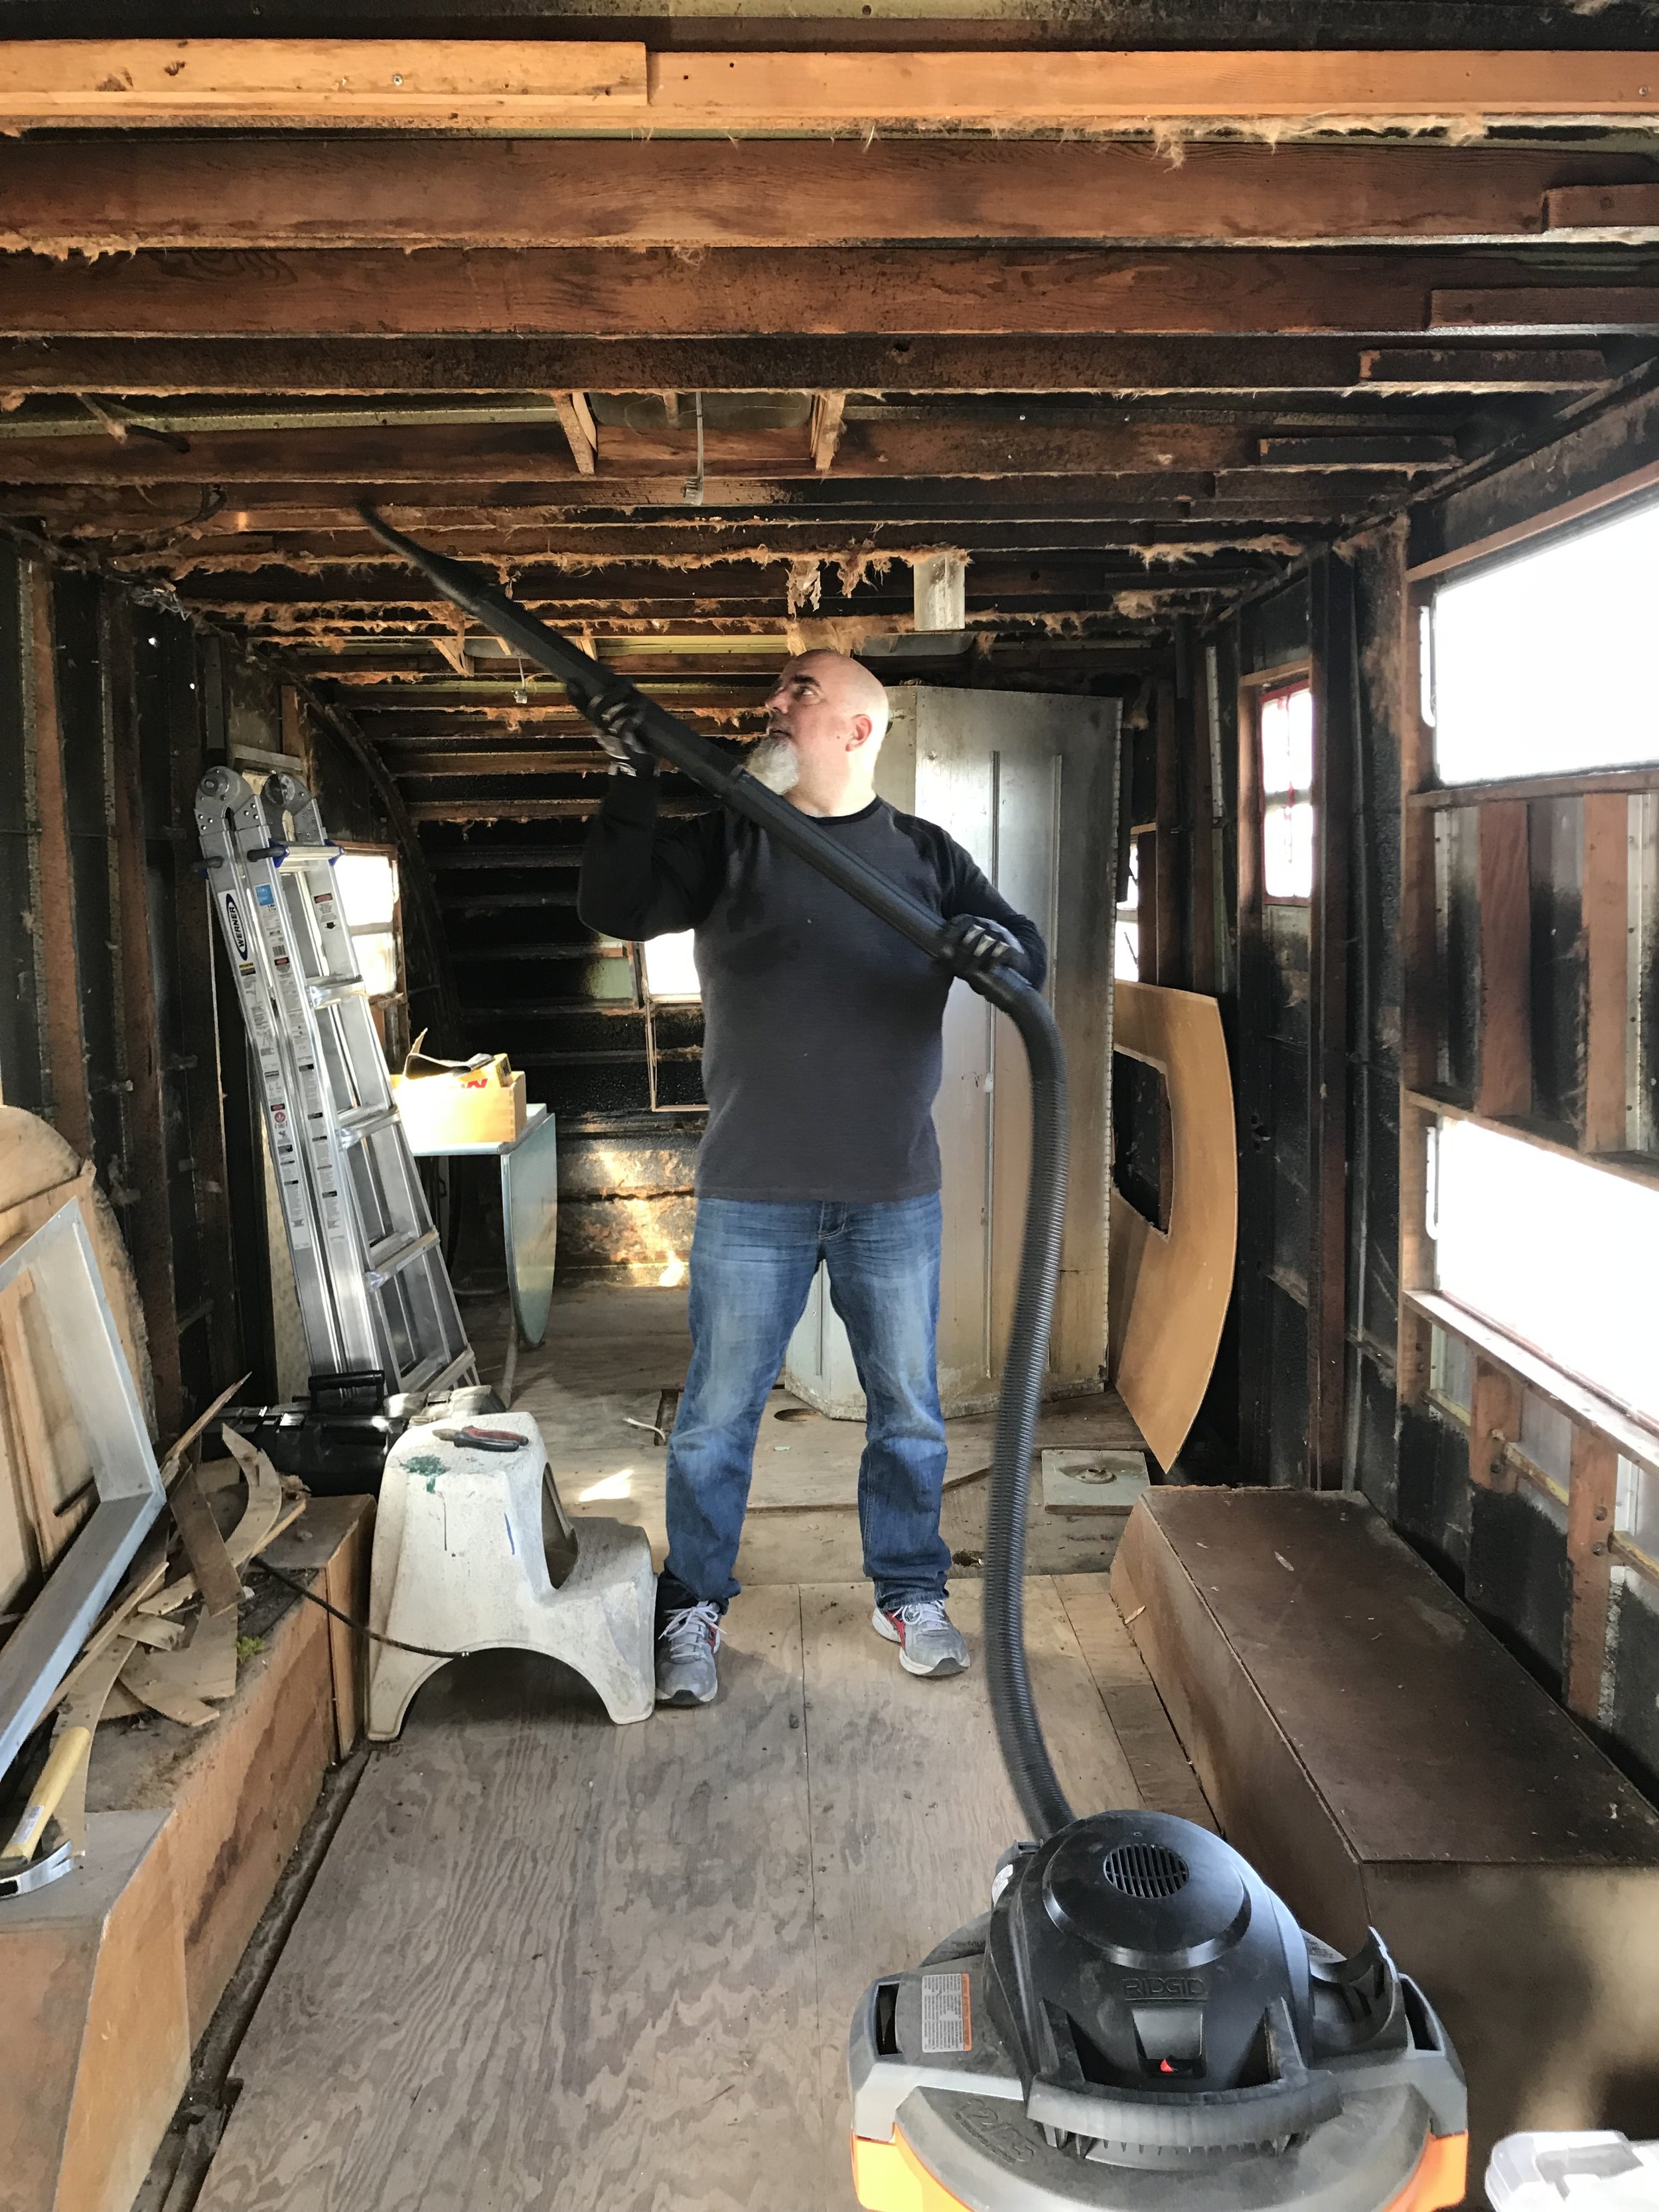
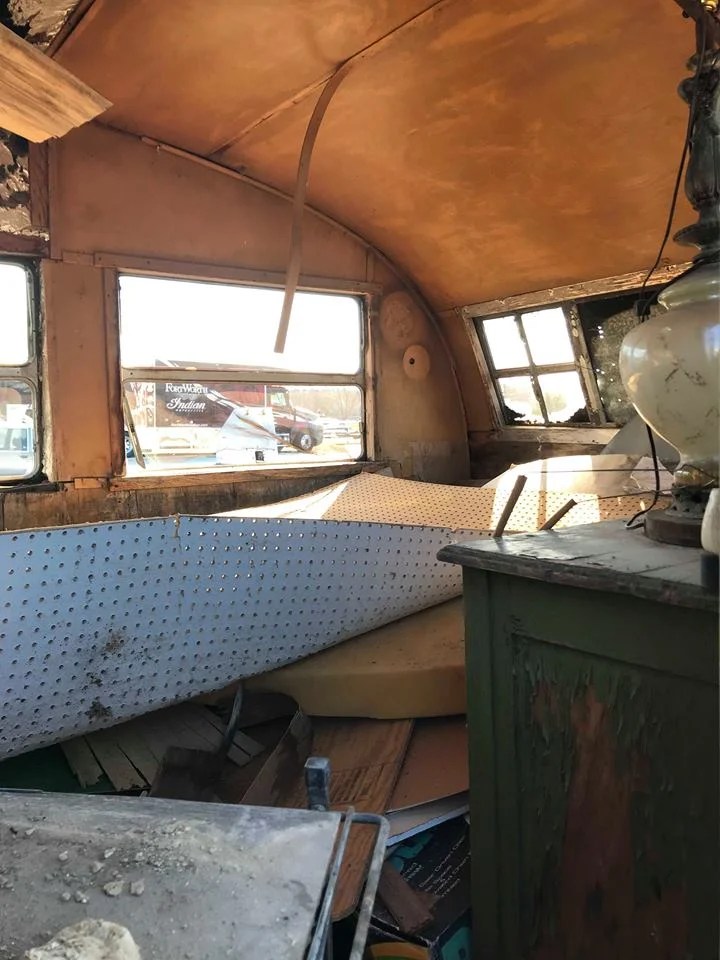
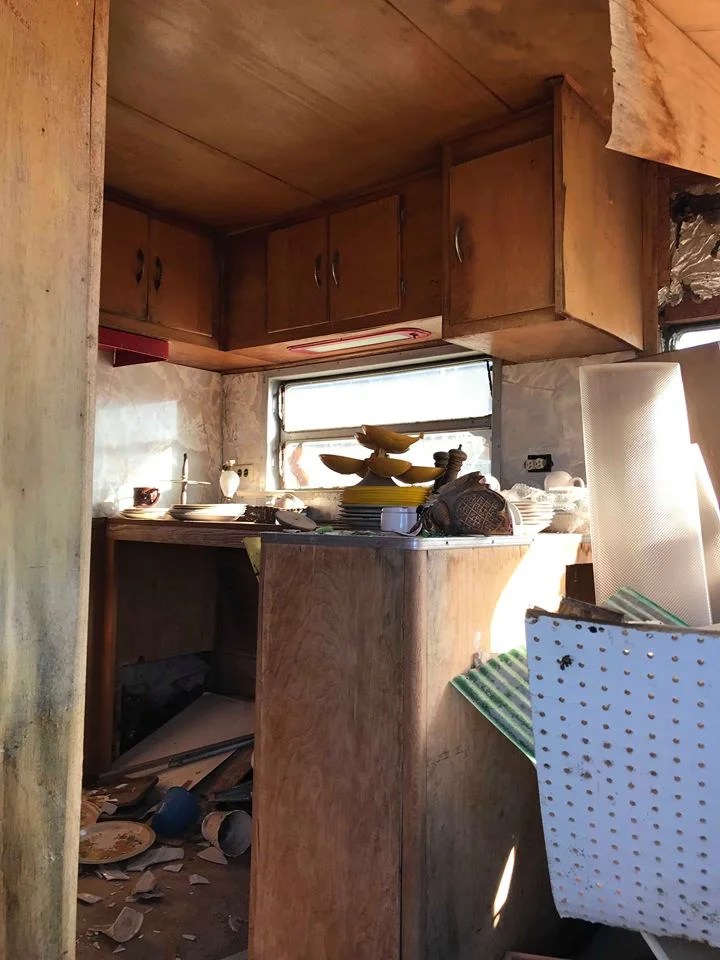
    We completed the cleanup of all the trash, dirt, bugs, bodies, and refuse. It only took three trips… Now we get to review the remnants of the original design. Sadly, there is extensive water damage from leaking windows, poorly sealed gaps, corrosion holes in the skin, and missing or broken vents in the roof, and body damage from unsuccessful parking attempts by previous owners. The seals under the windows are crumbling to pieces at the touch of a hand or tool, and glass is missing or broken in almost every window. The cabinets are delaminated with the surface peeling apart and the joint pieces of the drawers are falling apart when we pull them out to see what is in side. We had hoped to be able to salvage some of the structure of the old cabinets but the damage is too pervasive to remediate. Conclusion: pull it out and start over.

    scary wiring.jpg

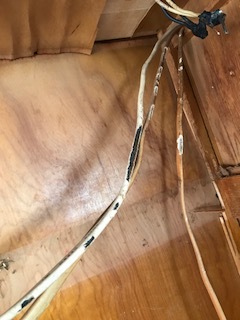
    Even as we begin removing hardware and deconstructing the cabinets we are finding more problems. Invasive bugs have eaten into and made their homes in every possible cranny and nook. Electrical wires have had their insulation rubbed down to the bare wire in a number of locations we would otherwise have never seen. Then there is the haphazard wire splicing someone did to add lights in closets with mismatched wire and improper wire bundling. No screw caps, no junction boxes, just wire on wire with tape mostly covering the pairings. If we had applied power to this mess, it would likely have been a short-lived project for sure. Of course, the shore power input was missing as well, so no chance of that anyway.

    We are taking time to preserve the metal grates that were installed in the upper cabinet faces so that we can try to find a home for these once again in the new installation. I have also pulled off the hardware for handles and hinges in case someone is planning an original restoration that may want to try to salvage these parts.

    shower stall.jpg

    Before the cleanup

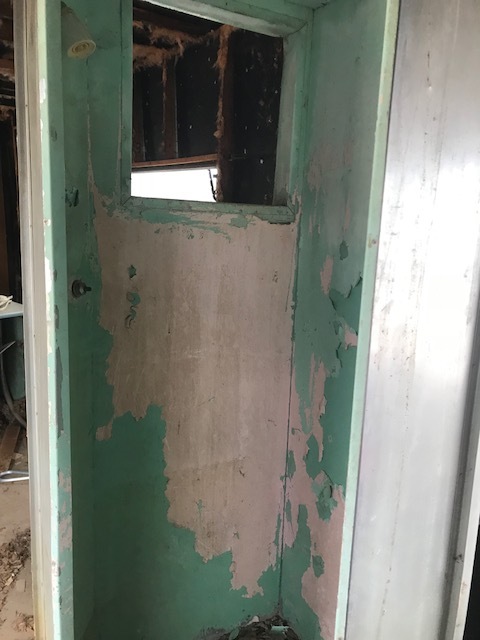
    We have decided to keep this shower, sand it down, repaint it and then install it back in place.

    We will be salvaging the shower stall, which is the only intact part that was still in the bathroom when we found it. It is actually in good shape and just needs some cosmetic work to make it functional and presentable. The faucets, and the pipes leading to them, are being replaced. Pvc was used to create hard connections to some external source that was cut out long ago. All we had left were pipe pieces that ran down through the floor and went nowhere. There is no water tank, grey-water tank, or black water tank in evidence under the trailer, which leads me to believe the previous owners had this hooked directly to septic and outside water sources. Although, once again, I can find no additional evidence of plumbing other than the shower pipes. I found no plumbing under the kitchen sink, and no plumbing for a sink in the bathroom. Just holes in the bathroom floor. I also see no evidence of where a water heater would have been located previously.

    The challenge of the shower stall is that it will not fit out of either door. As such, we are forced to move it from side to side or front to back in order to work around it and clean out the trailer. Fortunately, it is very light and easy to move, given its size.

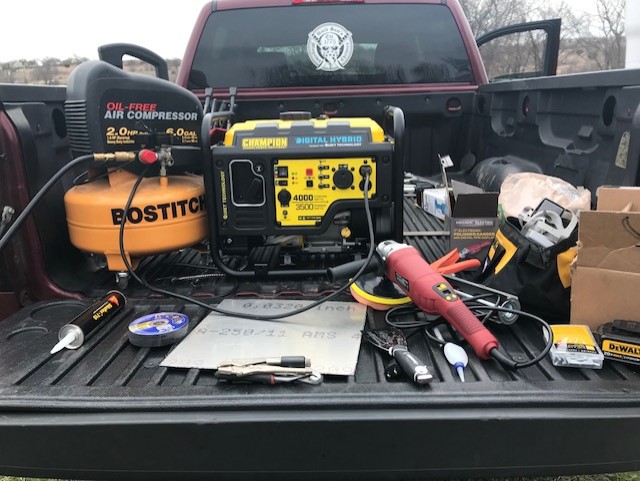
    We have successfully removed all of the cabinets, walls, ceilings, and all insulation as of this entry. We discovered in short order that removing all those screws by hand is no fun at all. Thankfully there was some allowance for tools in the budget and we went to Home Depot and bought good quality cordless drills (Dewalt) and extra batteries to allow both of us to work without waiting turns for the drill or bits. I also had a reciprocal saw (18v) from a previous tool kit, although all my 18v batteries were dead (like no recharge life dead) so we also bought a 20v converter and were able to use that to power the saw and remove some of the more stubborn wood pieces.

    tools.jpg

    Speaking of tools, I would recommend to anyone planning a similar activity to make sure you have some of the following:

    • Cordless drill with screwdriver bits
    • Wire brush drill attachment
    • Work lights (battery powered)
    • Shop vac (large capacity)
    • Lots of trash bags
    • Stiff putty knife (metal for scraping)
    • Wire brushes (detailing and cleanout of hard to reach places)
    • Hammer
    • Cut-off tool
    • Reciprocal saw
    • Heavy duty wire cutter

    If you do not have easy access to a power source via extension cord, you will want to have a generator handy as well. This can then be used to provide power for lights as well as charging of batteries, and powering the shop-vac. Not to mention you will need this generator for future boon docking opportunities if you should choose to venture out. I will be discussing generators and selection in a future post, most likely. I realize some will say “duh” to my tool list but never assume anything. I have owned several cordless drills, but when we started this activity, I could not find any of them, hence the purchase above. Know where your tools are and organize in tubs or totes at your work site if possible to save you the hassle of running back and forth to find things resulting in time lost. This is just for the cleanout portion of the activity. More tool recommendations will be involved in upcoming activities.

    cleaning off fiberglas.jpg

  • And so it begins…

    And so it begins…

    Pick-up Day!

    Taylor.jpg

    The journey truly begins! Knowing the degree of physical labor that would be required to actually get our new beauty capable of rolling down the road, I opted to take my son (who just happened to be home for Christmas) to go with me. The trip to Breckenridge was, once again, long but doable and we had some good conversation along the way.

    I had picked up 4 new tires the day before. I did not feel comfortable trusting this investment to 40 year-old tires.

    Upon arrival, we began the fight to mount new tires on old trailer. Rusted lugs and even more rusted lug nuts anyone? The fight was real, but we were victorious (sort of). We managed to nestle four new tires under our prize and secure (most of) the lug nuts.

    We then took a quick run into “downtown” Breckenridge to get a one-way permit for the trailer. Fortunately we made it to the license office right before closing time. With permit in hand, we stopped by a hardware store to pick up some shiny new lug nuts, a hitch pin, and some painter’s tape to attach the permit to the back window of the trailer and we were in business.

    Back to the trailer and we were rolling. To make a long story slightly less long, we got her safely to her renovation resting place (a.k.a. my brother’s house).

    creature.jpg

    Now to clean, clear, vacate, and vanquish the vile remnants of a life left behind. We have removed all of the old trash, clothes, miscellaneous pieces and parts of other non-related places that found their way into her belly for later consideration but found no reprieve or alternate use to call their own.

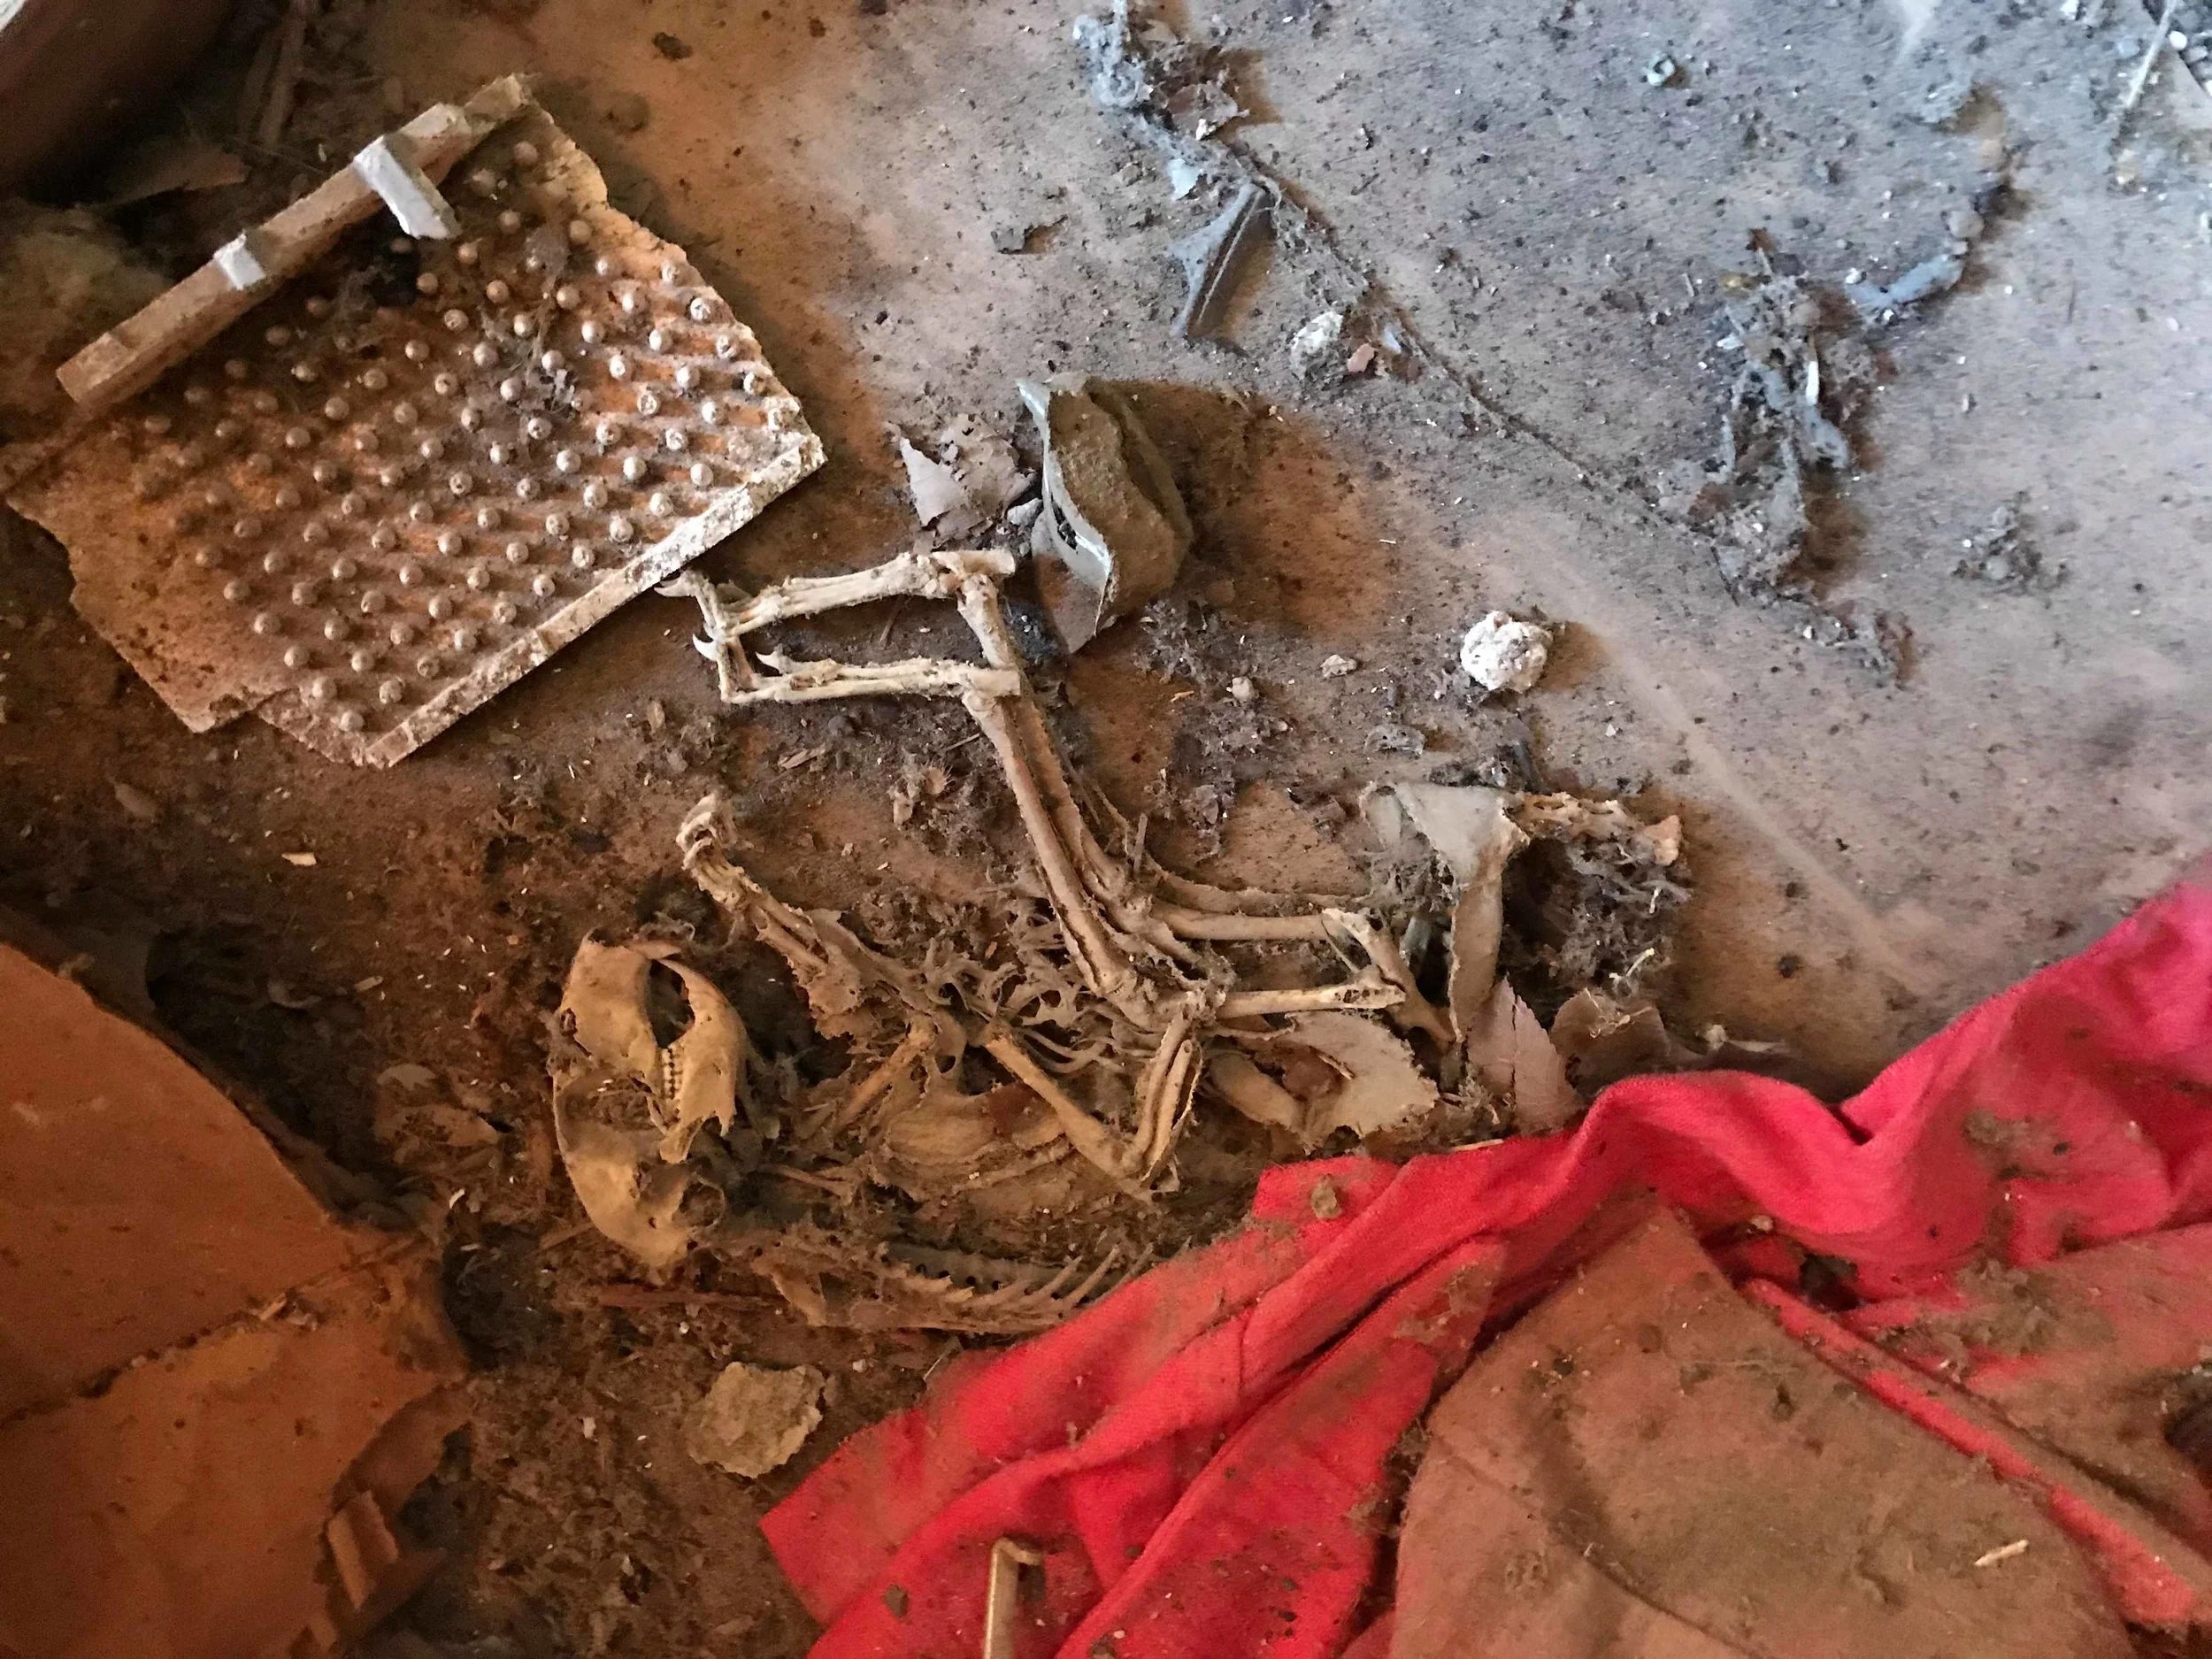
    Clothes that are crusty with age, riddled with holes from who-knows-what misfortune. Tables, sofas, and other broken pieces of what was once someone’s favorite night stand or dresser. Dry wall, old shoes, mismatched plastic and ceramic dishes. Dollar store pots and pans. The list goes on… but those items do not! Trash bag after trash bag of refuse (and miscellaneous critter skeletons) are now gone. Thank goodness for filtered masks and gloves…

    BCO Kitchen.jpg

    It was truly a comedy of filth. I had to remove a huge pile of junk just to get in the front door. There is no handle on the rear door (inside or outside) so that option was out as an entry point.

    The more we dug, the more we found. It was like the junk was multiplying as fast as we could remove it. Not really… but it felt that way.

    I may not have mentioned this previously but we are working under time constraints, both for the renovation, and for the total project. Our renovation timeline is restricted to Saturdays (as a couple) and Sundays (solo) due to our conflicting work schedules at present. Also, we have a hard target date for “completion” (a term yet to be defined) of August 1 of this year. Can you say aggressive (and moderately insane)? More to come soon…